The Well-Rounded Photographer
8 Instructors Teach 8 Genres of Photography
With Mike Kelley, Peter Hurley, Brian Rodgers Jr., Clay Cook, Monte Isom, Dylan Patrick, Elia Locardi, and Joey Wright
The Well-Rounded Photographer tutorial includes over 13 hours of content from eight world-class instructors. Learn the skills needed to master landscape, product, headshot, architecture, editorial, studio, and natural light photography all in one tutorial. These brand new lessons are not found in any other tutorial.
- 13 Hours of Content
- 8 Instructors 8 Brand New Lessons
- Image Files Included with Each Lesson
- Learn A Wide Variety of Techniques

Fstoppers has once again teamed up with eight of our most popular educators to produce The Well-Rounded Photographer. Unlike other tutorials in the Fstoppers Store that cover a single genre of photography, The Well-Rounded Photographer covers eight different genres and countless business, production, lighting, posing, and post-processing techniques. If you’re looking to branch out and become knowledgeable enough to photograph any job that comes your way, this is the tutorial for you.

Meet Your Instructors!
The fastest way to become a professional photographer is to assist as many working photographers as possible. In this tutorial, you’ll get to learn from eight of the most famous photographers in each of their fields.

Headshots: Peter Hurley
Peter Hurley became the world’s most famous headshot photographer over a decade ago after his signature style took over the acting scene in New York City. When we first released The Art Behind the Headshot, neither Peter nor Fstoppers had any idea just how much it would transform the photography world. Today, Peter Hurley is one of the most sought-after photographers and educators in the industry, and he has singlehandedly changed the world of headshot and portrait photography.

In Peter’s lesson, he shares some of his most useful lighting and posing tips. For lighting, Peter covers his signature LED light bank system but also teaches simpler single-light and speedlight variations. Of course, Peter’s most valuable tips have to do with his coaching. No matter how uncomfortable your subject may be, Peter will give you the tools needed to take control of the shoot, and capture the best possible images, guaranteed.
Peter’s Lesson Includes
- Overview of what makes a great headshot
- Simple one-light lighting techniques
- Peter’s constant lighting setups
- Manipulating your background color
- How to create flattering soft light for women
- How to light men with shadows
- Directing people into an interesting expression
- How to position the body and face
- Techniques to make people feel comfortable in front of your camera
- How to make money with headshot photography
- The importance of tethering
Editorial Portraits: Clay Cook
Clay Cook is an editorial and advertising photographer based out of Louisville, Kentucky. Back in the early days of Fstoppers, Clay created some of the most revered and in-depth articles on the site. Today, Clay’s work is featured in local and regional magazines, and his commercial work has been commisioned by brands such as A&E, Comcast, ESPN, the NFL, Time, Popular Mechanics, and Lifetime.

Clay’s Lesson Includes
- Overview of editorial photography
- Set design
- Building and working with a team
- Shoot with a model
- Natural lighting
- Strobe lighting
- Composition
- Posing
- Coaching
- Color grading in Capture One
- Business overview
Landscapes: Elia Locardi
Fstoppers first met Elia Locardi in a small bavarian pub in Cologne, Germany back in 2014. Since then, we have literally traveled around the world together multiple times while producing the Photographing the World series. Today, Elia has become one of the most sought-after landscape photographers and educators in the world and has clocked in over two million miles traveled and over 65 countries visited.

In Elia’s lesson, he explores a location often overlooked by most landscape photographers: the picture postcard in your backyard. With the beautiful intercoastal waterways of Melbourne Beach as his backdrop, Elia walks you through his entire process starting with scouting and working through finding the perfect composition. After taking the shot, Elia takes you into a typical “nomadic” editing suite to show you how he edits his images from start to finish. As a bonus, Elia also shares some of the best moments he has captured at this same location through different weather and lighting events so you can understand why so many landscape photographers enjoy revisiting the same location again and again.
Elia’s Lesson Includes
- Scouting and planning a new location
- Exploring strong and unique compositions
- Elia’s best landscape camera settings
- Working through unpredictable weather
- Managing busy locations and tourists
- Mastering the art of symmetry
- Balancing ambient light with artificial light
- Basic raw processing techniques for landscape photography
- Blending multiple moments in time
- Removing unwanted color casts
- Using supplemental plugins to save time editing
Product Photography: Brian Rodgers Jr.
Product photography can be one of the toughest genres to master, but Brian Rodgers Jr has done it. Brian’s work is some of the highest-rated work ever uploaded to the Fstoppers Community, and he’s won four Addy Awards through the American Advertising Federation. If you have been intimidated by high-end product and commercial photography, Brian’s lesson is going to break down a lot of walls and help you feel confident in producing world-class product photographs without expensive gear or CGI.

Brian’s Lesson Includes
- Brian’s approach to product photography
- Shoot conception
- Building a small set
- Handling products
- Composition
- Building your lighting with strobes and modifiers
- Using a polarizer to reduce reflections
- Light painting
- Adding splash effects with water
- Culling and making image selections for composites in Lightroom
- Color correction in Lightroom
- Compositing in Photoshop
- Making selections with the Pen Tool
- Cleaning up your image with frequency separation
- Blending multiple images together
- Color grading in Photoshop
- Creating and using a custom brush
Real Estate and Interiors: Mike Kelley
Mike Kelley started off his career as a real estate photographer and now has grown his business into shooting some of the most expensive homes and buildings in the world. The tutorial series with Mike, Where Art Meets Architecture, has been the best-selling tutorial on the Fstoppers store for eight years straight.

In Mike’s lesson, he begins by comparing the real estate photography industry to the architecture photography industry. Most photographers enter this market by shooting real estate, but the highest-paid photographers are the ones shooting architecture for architects, designers, and builders.
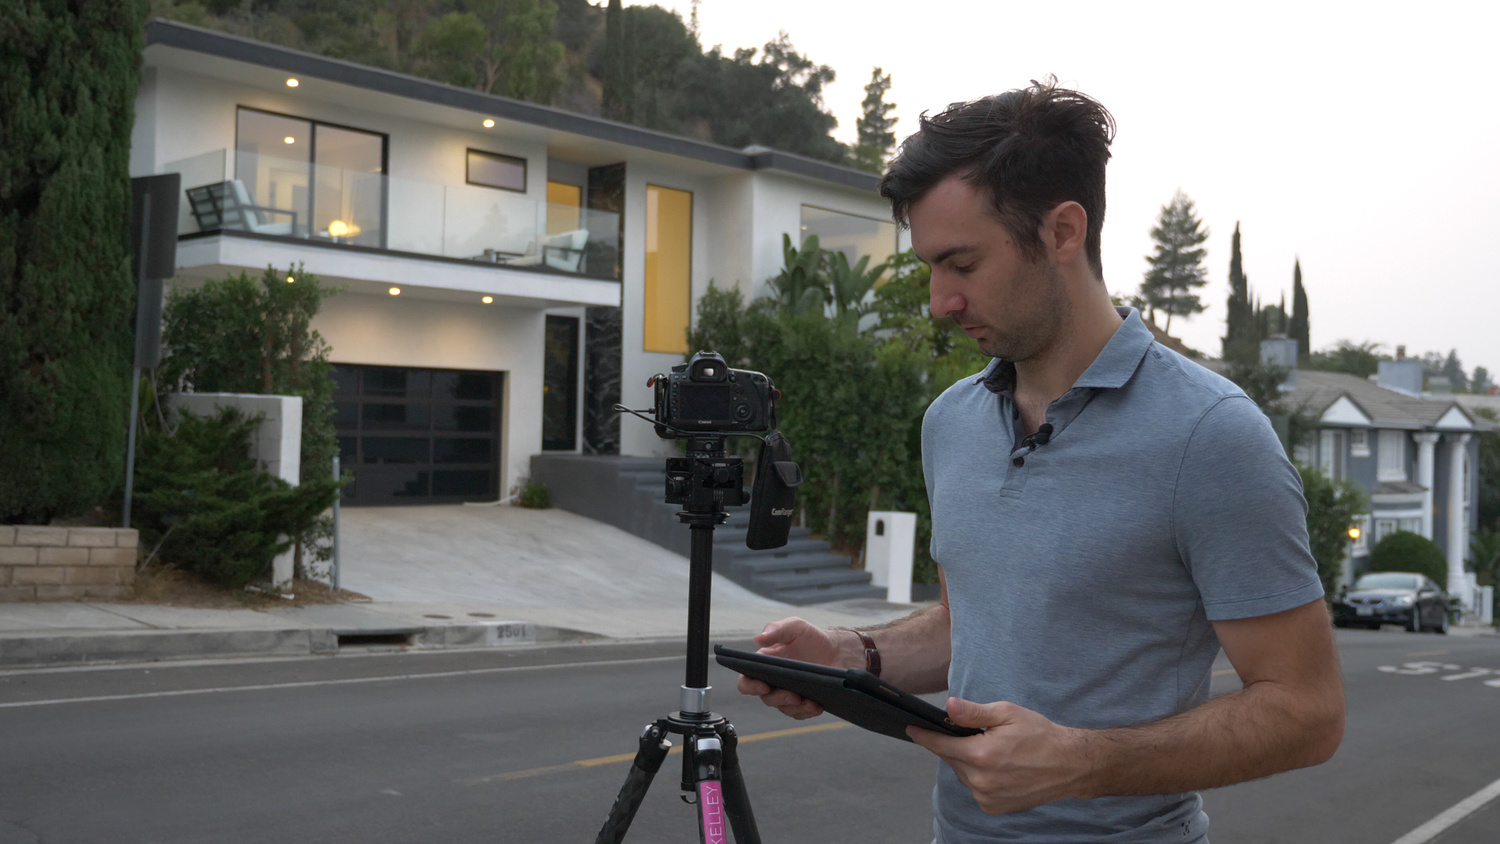
Mike then moves to a multi-million dollar home to photograph the master bedroom using exclusively natural light. After that, he photographs the exterior at dusk using his signature lighting techniques. After each shot, he works through editing in Photoshop.
Mike’s Lesson Includes
- Overview to photographing real estate
- Business advice
- How to upgrade to architectural photography
- Photographing a master bedroom
- Choosing your angle and composition
- Staging a room
- Lighting
- Bracketing
- Shooting a twilight exterior
- Light-Painting
- Color correction in Lightroom
- Selections and masking in Photoshop
- Blending images in Photoshop
- Choosing your crop
Environmental Headshots: Dylan Patrick
Dylan Patrick has mastered many genres of photography, but he’s most well known for shooting portraits on location. Most photographers don’t own a studio, and many of your biggest clients don’t have the time to travel to your studio if you do have one. Dylan Patrick has made a career out of taking “cinematic headshots” that are all shot on location.

It doesn’t matter if you’re inside or outside or in a beautiful or ugly environment. Dylan’s technique can create beautiful shots anywhere your client wants to shoot. In hiss lesson, he creates incredible images of an actor in an average living room. Dylan teaches you exactly what he does when he enters a new space to choose his background, set up his lighting, and direct his client. At the end of the shoot, Dylan also teaches his favorite editing techniques.
Dylan’s Lesson Includes
- Finding good out-of-focus backgrounds
- Creating cinematic lighting
- Composing with a zoom lens
- Coaching your client
- Shooting your client sitting and standing
- Lighting the background
- Color correction in Lightroom
- Retouching in Photoshop
- Frequency separation for skin rditing
- Using the spot removal tool
- Whitening eyes and teeth
- Adding vignettes and a final color grade
Natural Light Portraits: Joey Wright
Joey Wright is a full-time swimwear photographer based out of South Florida. Although it may be difficult to ignore his sexy subjects, it’s Joey’s masterful use of natural light that sets his work apart from others. Shooting outdoors with little to no shade and having to control the blazing sun can be a difficult task for any photographer. Understanding when to backlight a model with the direct sun or how to use open shade while still retaining contrast and colors are just a few challenges we all face when shooting out on location. If you scroll through Joey’s Instagram page, it’s easy to see that there really isn’t any lighting situation he shies away from.

In Joey’s lesson, he takes you to one of his favorite beaches in South Florida. His session with the beautiful Nina Nicole starts with a basic editorial shoot. While the sun is still high in the sky, Joey shows how you can use direct sunlight and open shade to give you two completely different-looking images. Once the sun begins to set, Joey transitions into shooting a more traditional swimwear session, for which he is most well known. Joey’s lighting, posing, and post-processing techniques can be used for any type of portraiture outside including weddings, environmental portraits, events, families, or fashion photography.
Joey’s Lesson Includes
- Styling tips for on-location shoots
- Working and networking with models
- Using open shade midday
- Posing and directing your talent
- Shooting with direct sunlight
- Working with backlighting
- Soft light during and after sunset
- Joey’s favorite gear
- Editing in Lightroom and Capture One
- Skin retouching and color grading
- Marketing and networking your work
Industry Business Talk: Monte Isom
One of the most difficult things for any photographer is understanding the business of photography. Monte Isom became famous in the advertising world as a commercial photographer, but he became famous among photographers when he began sharing the unspoken details about the business side of the industry. Fstoppers teamed up with Monte to create an entire tutorial called Making Real Money, in which Monte shares just about every bit of information you could ask for concerning the trade secrets of photography at the highest level.

In Monte’s lesson, he speaks with Liz Miller Gershfeld, a senior executive art producer at Energy BDDO based in Chicago. They speak candidly about what it takes to impress an agency and land a huge campaign job. If you are curious about some of the pitfalls you might encounter when presenting during a creative call, building a treatment, or marketing yourself to these big agencies, you are going to love this 90-minute interview.
Monte’s Interview Includes
- The photography world post-pandemic
- How to effectively market your work
- Building relationships with advertising agents
- How to present yourself during a creative call
- Managing budgets and photography rates
- Knowing when you are ready for high-stress shoots
- Understanding what agencies are looking for in a photographer
- Navigating the bidding process
- What to expect from an agency briefing
What Gear Is Required?
You will notice throughout this tutorial that almost every instructor uses a completely different set of gear. Some of photographers love expensive Profoto lights while others prefer using less expensive Godox speedlights. Maybe you are intimidated by strobes and prefer to use constant LED lights. While some genres do, no doubt, benefit from specific tools and gear, rest assured that that you do not have to go out and buy every camera, lens, and light in order to shoot incredible photos. Working with the gear you have is a perfect place to get started in each of these genres, and you’ll be able to start applying the techniques you learn right away.

Part of the beauty of being a well-rounded photographer is that over time you will be exposed to all sorts of different gear, lighting, cameras, lenses, and studio equipment. While all of those specific tools may change, the techniques and the approach will stay the same. We designed this course specifically for this purpose so that you can learn not only how to achieve a certain look but also why a particular photographer might prefer their approach.
Post Production Magic
If you have been a photographer for longer than a year, you probably already know how important the photo editing process is to the success of your final images. Some genres require less post production while others require a deep understanding of Photoshop and retouching to achieve world class results. Unfortunately, if you only shoot one type of photography, chances are your mastery of photo manipulation is probably severely behind the competition.
In this tutorial we want to broaden your understanding of post production so that you can get high quality results fast, accurately, and with the best quality. As you watch this tutorial, you will notice that some photographers simply use their post processing skills to refine and perfect a final select image. Other photographers will use their knowledge of post processing out on location to help plan a shoot even before the first click of a shutter has been pressed. The hard truth boils down to this: the more effectively you can balance pre planning, shooting, and post processing, the better you will become as a photographer.

With The Well-Rounded Photographer, most of the instructors teach post-processing once they’ve finished shooting on location. They have provided several working files for each of those lessons in order to let you follow along step by step and practice their workflow. There are three main programs that are used that you’ll need in order to follow along with all the lessons: Capture One and Adobe’s Lightroom and Photoshop. If you don’t own these programs, you can sign up for a free trial for any of them. Keep in mind, photographers use all sorts of different programs to finish their images but these are by far the three most common ones. Of course you can always try your own edits with these files in whatever software you prefer.

How to Become a Well-Rounded Photographer
Almost every instructor in this tutorial didn’t start out shooting the types of photos they are famous for today. Many of them shot every job that came their way and slowly eased into shooting one particular type of photography. Others assisted photographers of every genre and fell in love with a certain type of photography they had never considered before. The bottom line is that you aren’t going to know what genres of photography you enjoy or that you’re good at until you try them.
The most important thing any photographer can do to guarantee growth in their favorite niche of photography is to learn and master as many different skills as possible. At the very least, you’ll become better at what you already do, but who knows, maybe you will even find another genre of photography you love even more than what you are doing now.


